
Discover Natural Hair Removal Hacks
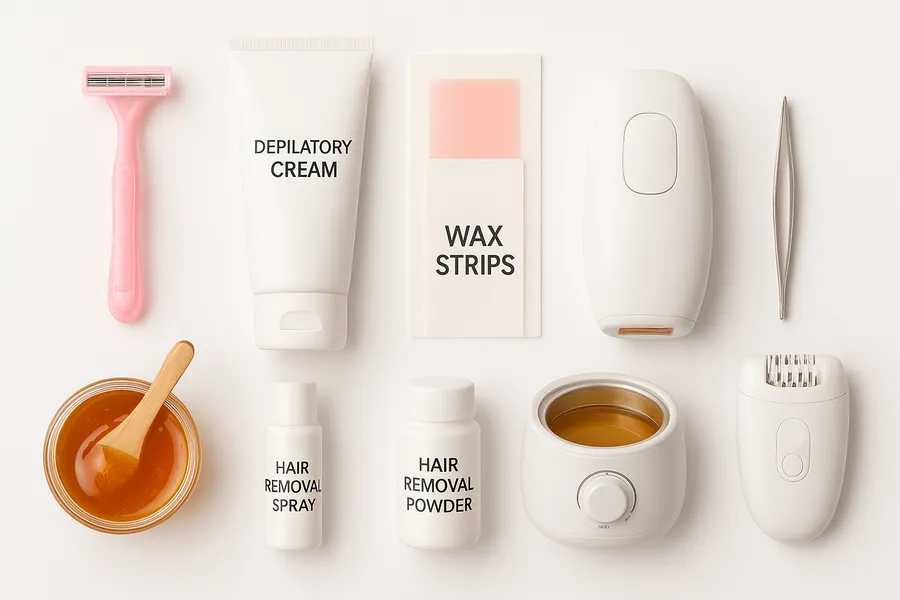
Are you tired of traditional hair removal methods that can be painful and harsh on your skin? Say goodbye to the discomfort of strips and creams packed with chemicals. In this guide, you’ll explore five natural hair removal hacks that are not only easy to use but also gentle on your skin.
You’ll learn about sugar waxing, a sweet and simple method that uses ingredients you probably have in your pantry. Next, discover the golden benefits of turmeric paste, known for its anti-inflammatory properties. We’ll also dive into the art of threading, which offers precision and control for a flawless finish.
Want to exfoliate while you smooth? Coffee scrubs will be your go-to, helping you achieve fresh skin. Finally, learn how aloe vera can soothe your skin and act as a gentle hair inhibitor. Get ready to embrace your smoothest skin naturally!


Say Goodbye to Facial Hair: Discover This All-Natural Home Remedy!
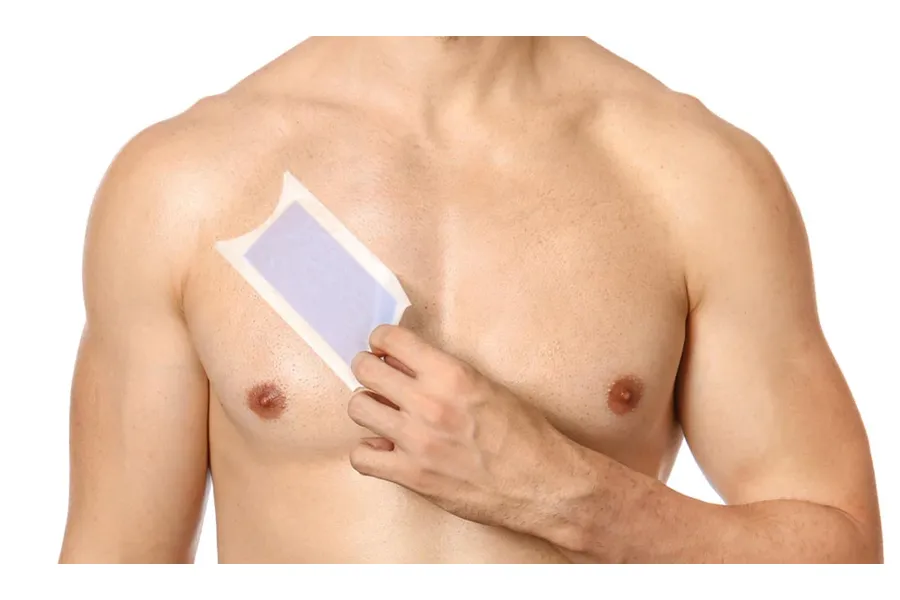
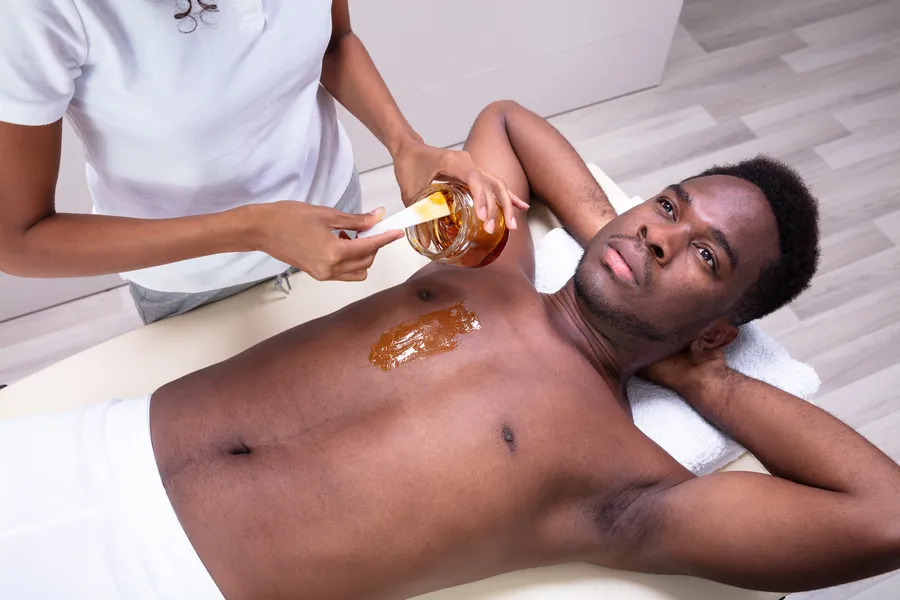
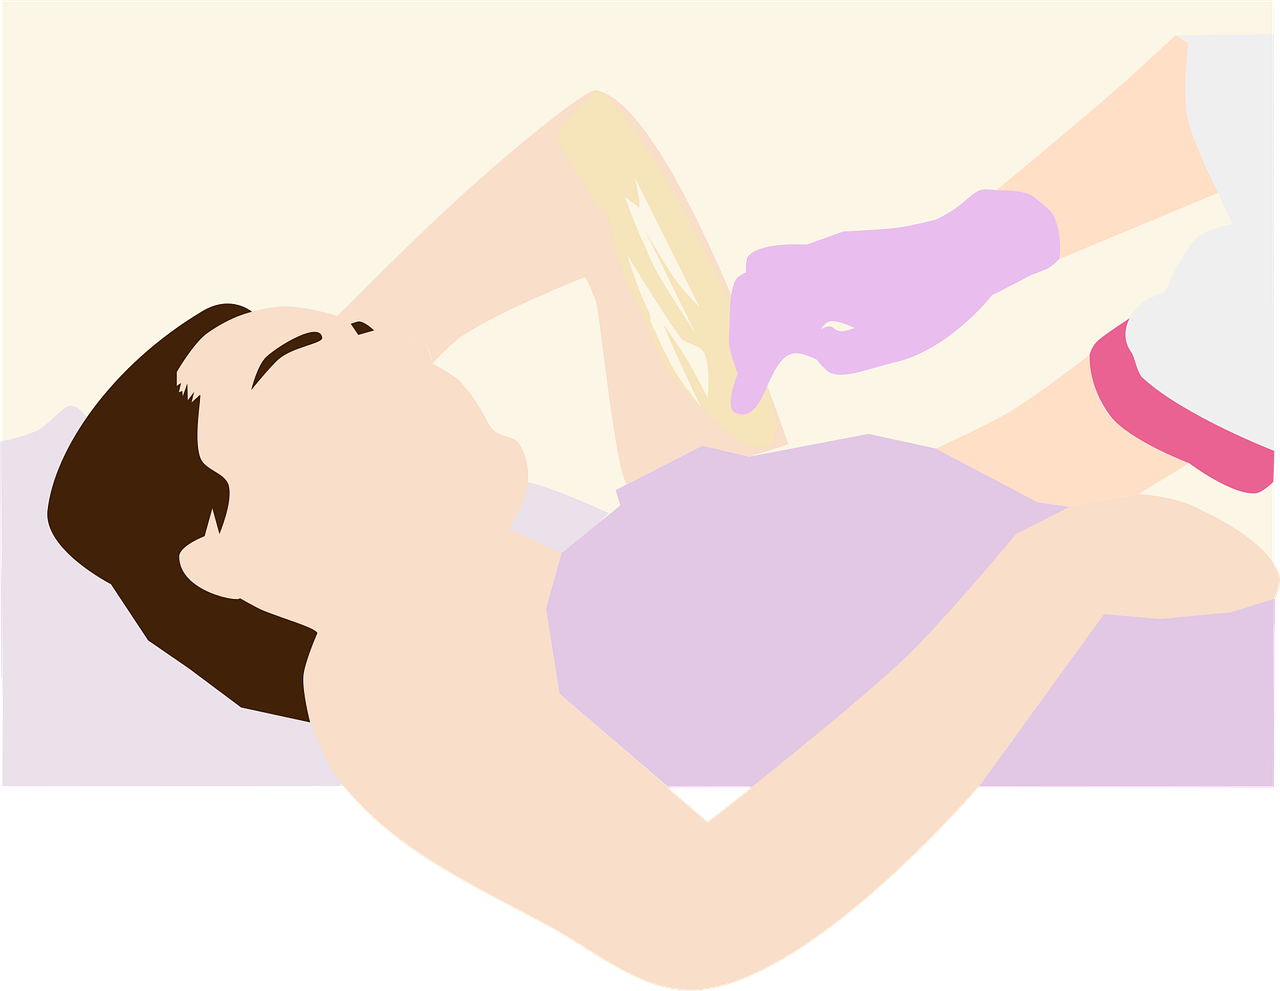
Sugar Waxing: Sweet and SimpleWhen it comes to hair removal, sugar waxing stands out as an age-old method that’s making a comeback—and for good reason! Not only is it effective, but it’s also incredibly easy to create right in your own kitchen. With just three simple ingredients—sugar, lemon juice, and water—you can whip up a natural wax that delivers smooth results without the harsh chemicals found in many commercial products.
Making Your Own Sugar Paste
Here’s a quick guide to whipping up your own sugar wax:
- Gather Your Ingredients: You’ll need 2 cups of granulated sugar, 1/4 cup of water, and 1/4 cup of lemon juice. All these ingredients are probably sitting in your pantry, ready to be transformed into your new favorite hair removal solution.
- Cook Up the Magic: In a saucepan, combine the sugar, water, and lemon juice over medium heat. Stir the mixture until the sugar dissolves completely, and then let it simmer. Keep an eye on the color; it should turn a golden amber as it cooks. This can take about 10 minutes, but be careful not to let it burn.
- Test the Consistency: To check if it’s ready, drop a small amount into cold water. If it forms a soft ball, it’s good to go! If it’s too hard, add a bit more water and heat it for a few more minutes.
- Cool Down: Make sure to let the paste cool down to a comfortable temperature before applying it to your skin.
How to Apply Sugar Wax
- Prep Your Skin: Clean the area you wish to wax and dry it thoroughly; any moisture can affect the wax’s grip.
- Applying the Wax: Use your hands or a spatula to spread a thin layer of the wax in the direction of hair growth.
- Removing the Wax: Quickly flick the wax off in the opposite direction of hair growth using your fingertips or a cloth strip. You might feel a quick sting, but it should be less intense compared to traditional waxing methods!
Benefits of Sugar Waxing
- Gentle on Skin: Sugar wax adheres only to hair and dead skin cells, allowing for a less painful experience.
- Natural Ingredients: You won’t find any nasty irritants here—just sweet simplicity.
- Easy Clean-Up: Any residue can simply be washed away with warm water.
Using sugar waxing not only leaves your skin feeling smooth but also offers a fun and interactive way to engage with your beauty routine. Give this sweet hack a try, and you might find yourself ditching traditional waxing methods altogether.
As you explore different ways to keep your skin smooth, consider the golden benefits of turmeric paste to enhance your natural beauty routine!
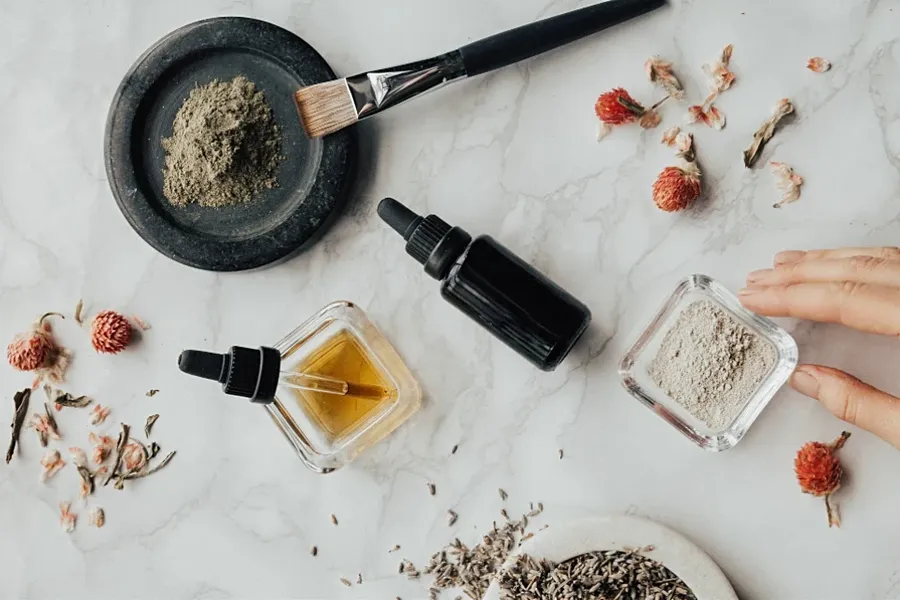
Turmeric Paste: Nature’s Anti-InflammatoryWhen it comes to natural hair removal, turmeric is a superstar—and not just because it adds a vibrant hue to your dishes. This humble spice is packed with anti-inflammatory properties, making it an effective option for reducing hair growth and promoting smooth skin. Let’s explore how you can create a turmeric paste and use it to your advantage without turning your skin a bright yellow.
Making Your Turmeric Paste
Creating turmeric paste is a breeze! Here’s an easy recipe to follow:
- Gather Ingredients: You’ll need 2 tablespoons of turmeric powder, 2 tablespoons of coconut oil (or olive oil), and a bit of water, if necessary. You can also throw in some chickpea flour (gram flour) for added exfoliation.
- Mix It Up: In a bowl, combine the turmeric powder and the oil. If you’re using chickpea flour, add it now, too. Mix until you achieve a smooth paste; if it’s too thick, add a little water. Remember, the ideal consistency should be spreadable but not runny.
- Application Prep: Before applying, do a quick patch test on a small area of your skin to ensure there’s no adverse reaction. This step is particularly crucial for those with sensitive skin!
How to Use Turmeric Paste for Hair Removal
- Cleanse Your Skin: Start with clean, dry skin. It’s best to exfoliate gently first, as this will help the turmeric penetrate better.
- Apply the Paste: Using your fingers or a spatula, spread a thin layer of the turmeric paste over the area you want to treat, following the direction of hair growth.
- Let It Sit: Allow the paste to dry for about 20-30 minutes. The longer you leave it on, the better the effects! You can multitask by catching up on your favorite show or enjoying some quiet time.
- Rinse Off: Once dried, rinse the paste off with lukewarm water. Use a soft cloth or your hands to gently scrub it off while rinsing to remove any remaining hair.
Tips for Success
- Avoid Staining: Turmeric has a reputation for leaving stains, so wear an old shirt and avoid contact with your clothes during application. If you do get a stain, mix equal parts of baking soda and water to create a paste and apply it to the stained area before washing.
- Frequency: To see significant results, use this paste 2-3 times a week. With consistent application, you’ll likely notice a reduction in hair growth over time.
- Pair It Up: For enhanced benefits, consider mixing turmeric with other natural ingredients like honey (for moisture) or lemon juice (for a brightening effect). Just remember that lemon juice can make your skin sensitive to sunlight, so it’s best to use this combo in the evening.
With turmeric paste, you’re stepping into a natural hair removal method that not only keeps your skin soft but also incorporates the healing qualities of nature. As you explore the wonders of turmeric, you may find yourself intrigued by other techniques—like threading, which offers precision and control for shaping your desired look!
If you’re looking for a hair removal method that’s both effective and natural, threading may be your new go-to. This ancient technique, often seen in beauty salons, involves using a thin, twisted thread to remove hair from the root, offering precision that other methods often lack. Not only does it provide a clean finish that shapes eyebrows and removes facial hair beautifully, but it’s also gentle on the skin.
The Threading Technique
Want to try threading at home? Here’s a step-by-step guide to help you master this meticulous method:
- Gather Your Supplies: You’ll need an eyebrow threading thread, which is typically made from 100% cotton. You can find a suitable product like the online or at beauty supply stores.
- Prepare Your Skin: Clean your face thoroughly to remove any oils or makeup, which can hinder the thread’s grip on the hair. A quick exfoliation beforehand can further improve results.
- Cut the Thread: Cut a piece of thread about 24 inches (60 cm) long. This length allows for easier manipulation and control.
- Tie the Ends: Tie the ends of the thread together to create a loop.
- Hold It Properly: Place the loop over your index fingers and thumbs, keeping the thumbs about 6 inches (15 cm) apart. Twist the loop about 5-10 times—the twists will create tension necessary for trapping and pulling the hair.
- Positioning: With the twisted section facing the hair you want to remove, move your hands to expand and contract the loop. The twisting motion will catch the hair in the loop and pull it out from the root.
- Practice and Control: For beginners, practice on less sensitive areas first. Once you’re comfortable, move to target areas like your eyebrows or upper lip.
Best Practices for Threading
- Start Small: If you’re new to threading, begin with a small area—like between your eyebrows—before moving on to larger sections of your face. This helps you gain confidence and control.
- Go Slow: Take your time with each section. Unlike waxing, threading allows you to focus on precise areas, making it easier to shape your desired look.
- Aftercare: Hold an ice pack or a cool compress to soothe your skin right after threading to minimize redness and irritation. You deserve that fresh, clean feel without discomfort!
- Frequency: Threading can generally last between 2 to 6 weeks, depending on your hair growth. Develop a schedule that works for you and try to keep up with it!
Final Thoughts on Threading
Threading is not just about removing unwanted hair; it’s an art form that gives you control over your desired look. As you hone your skills, prepare to take your beauty routine to the next level with the next hack: coffee scrubs. Not only do they exfoliate, but they also promise to help you achieve that smooth, radiant skin you’ve been craving!
Have you ever thought about how coffee can do more than just wake you up in the morning? Coffee scrubs are gaining traction for their ability to scrub away dead skin while also assisting in hair removal. This means you can indulge your senses with the rich, invigorating scent of coffee and enjoy smoother skin all at once. Let’s dive into how to whip up your own DIY coffee scrub, explore the science behind caffeine’s effect on hair growth, and understand the benefits of regular exfoliation.
Making Your DIY Coffee Scrub
Creating a coffee scrub is simple and satisfying. Here’s how you can get started:
- Ingredients Needed: All you need are 1 cup of ground coffee (used or fresh), 1/2 cup of coconut oil, and 1/2 cup of sugar (optional for extra exfoliation).
- Mixing Directions: Combine the ground coffee and sugar in a bowl. Slowly add the melted coconut oil until you achieve a paste-like consistency. If you find it’s too thick, just add a touch more oil.
- Storage: Place your scrub in an airtight container and store it in a cool, dry place. This mix is best used within a couple of weeks for maximum freshness!
The Science of Caffeine and Hair Growth
You might be wondering how caffeine can impact hair growth. Research indicates that caffeine has the potential to block DHT, a hormone linked to hair loss. When you massage a coffee scrub into your skin, the caffeine may penetrate the follicle and stimulate the hair, promoting healthier and possibly slower hair growth.
Benefits of Exfoliation
When you consistently exfoliate your skin using a coffee scrub, the benefits go beyond just aesthetic appeal:
- Removes Dead Skin: Regular exfoliation sloughs off dead skin cells, revealing fresh skin underneath for a more even tone.
- Increases Circulation: The massaging action of applying a scrub stimulates blood flow, giving your skin that lovely, healthy glow.
- Smoothens Skin Texture: By removing stubborn dry patches, your skin feels soft and supple while also being ready for any hair removal methods you may be using.
Application Tips
- Skin Preparation: Always start with damp skin. You could use this scrub in the shower where rinsing off is easier, and you won’t have to deal with a mess.
- Gentle Scrubbing: While applying the scrub, use circular motions to boost circulation and promote thorough coverage.
- Rinse and Moisturize: After your scrub session, rinse off with warm water, and follow up with your favorite moisturizer to lock in hydration.
You can enhance this experience even further with a product like the Moisturizing Coffee Body Scrub, which combines all the benefits of coffee with skin-loving ingredients for that ultimate pampering session.

Incorporating coffee scrubs into your beauty routine could be an enjoyable way to exfoliate and assist in hair removal. Now that you have silky-smooth skin, let’s move on to another natural remedy that soothes while potentially inhibiting hair growth: Aloe Vera.
Aloe Vera: The Soothing Hair InhibitorWhen it comes to natural skincare, aloe vera is a household name celebrated for its soothing and hydrating properties. But did you know it can also help with hair removal? Aloe vera may play a role in reducing hair growth when used consistently. Let’s dive into how to incorporate aloe vera into your hair removal routine and discover its additional benefits for your skin.
Making an Aloe Vera Hair Removal Paste
Creating an effective aloe vera paste for hair removal is straightforward and requires just a few ingredients:
- Ingredients Needed: You’ll need fresh aloe vera gel (from the plant or a good quality product), 1 tablespoon of lemon juice, and a pinch of turmeric or sugar for added exfoliation.
- Mixing Your Paste: In a bowl, combine the aloe vera gel and lemon juice. If you’re adding turmeric or sugar, mix well until you have a smooth, consistent paste. This combination will not only help with hair removal but also provide additional skin benefits.
- Patch Test: Before using the paste, always perform a patch test to avoid any potential reactions. Simply apply a small amount to your inner wrist and wait for 24 hours to ensure there’s no irritation.
Benefits of Aloe Vera for Hair Removal
- Soothing Properties: Aloe vera is renowned for its ability to calm irritated skin. After hair removal, applying aloe vera can help reduce redness and inflammation, making it a great option for sensitive skin types.
- Hydration: Regular use of aloe can keep your skin hydrated and prevent dryness, a common issue with many hair removal methods. This means you’ll not only get smoother skin, but it’ll also feel soft and supple.
- Natural Hair Inhibitor: Though more research is needed, some studies suggest that aloe vera can inhibit hair regrowth. Regular application of aloe vera gel on areas prone to unwanted hair can slow down the growth process.
How to Use Aloe Vera for Hair Removal
- Cleanse Your Skin: Start with clean, dry skin for optimal results. This helps the aloe vera penetrate better during application.
- Apply the Paste: Spread a thin layer of your aloe vera paste over the area you’d like to treat. Follow the direction of hair growth for best results.
- Let It Sit: Allow the paste to dry completely, which typically takes around 15-20 minutes. This gives your skin enough time to absorb the beneficial properties.
- Rinse Off: Rinse your skin with lukewarm water, gently scrubbing as you do so to remove any hair. Follow up with any remaining aloe vera gel for a refreshing finish.
Incorporating Aloe Vera into Your Skincare Routine
Aloe vera can do more than help with hair removal. Consider the following benefits of adding it to your daily skincare:
- Moisturizer: Use pure aloe vera gel as a light moisturizer, especially after sun exposure or shaving, to soothe and hydrate the skin.
- Healing Properties: Aloe vera can promote healing in minor cuts, burns, and irritations, making it an excellent addition to any first aid kit.
- Face Mask Ingredient: Combine it with honey or yogurt for a natural face mask that hydrates and nourishes your skin.
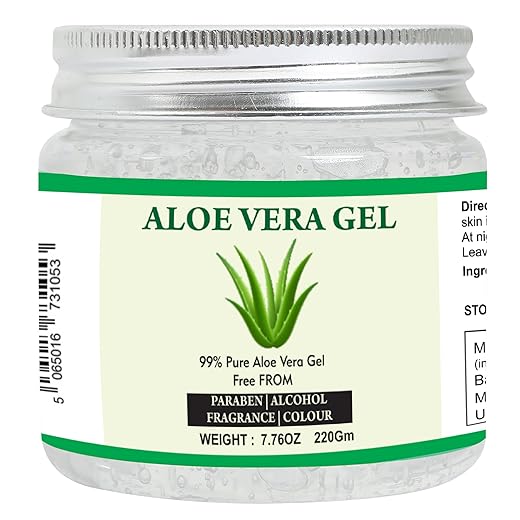
Remember to choose quality products if you’re not using fresh aloe. Options like the 100% Pure Aloe Vera Gel work wonders, delivering all the benefits without any added chemicals.
As you embrace the soothing power of aloe vera in your natural hair removal journey, you may uncover even more ways to celebrate your unique beauty. Now, let’s take a look at the big picture and see how these natural methods can empower you to embrace your skin’s natural beauty.
Embrace Natural Beauty
In conclusion, embracing natural hair removal methods can lead you to discover smoother skin without the hassle of chemicals. Each method mentioned—sugar waxing, turmeric paste, threading, coffee scrubs, and aloe vera—is easy to implement, affordable, and gentle on your skin. Whether you’re a busy bee or new to hair removal, these options offer a fantastic alternative to traditional methods.
So, why not give these hacks a try and see which one works best for you? Experimenting with these natural solutions not only promotes healthy skin but also encourages you to embrace your unique beauty. Your journey to natural hair removal begins now, so get started and enjoy the benefits of a smooth, radiant you!


Just got a coffee scrub. I’ve heard rave reviews, but it better not leave me with coffee grounds everywhere!! ☕️
I bought the Organic Cotton Eyebrow Threading Thread last week. It feels kinda different from regular thread… might take a bit getting used to.
It’s designed to be gentler on the skin, so it’s worth the adjustment!
Did it work well for you? I might want to try using that for my brows!
Threading sounds super precise! But isn’t it a bit painful? How do you guys manage that?
Pain tolerance really varies! Some find threading less painful than waxing, others not so much.
I’ve been using a Vitamin C Infused Hair Removal Cream and honestly, not sure how I feel about it yet?! Any tips on getting the best results?
Definitely follow the instructions! Results can vary based on usage!
It’s all about following the instructions to the T! And make sure to moisturize after, I find it helps a lot!
Turmeric paste sounds interesting! I might give it a shot. How do you make it without making a mess?
Mix it with enough oil to make a paste! I usually do it in a bowl and then apply it with a spoon to avoid stains.