
Welcome to the Great Waxing Debate!
Did you know that over 70% of women regularly turn to waxing as their go-to hair removal method? Whether you’re tired of shaving or seeking a smoother finish, waxing can offer an excellent solution, but the question remains: should you tackle it yourself or leave it to the professionals?
In this article, we’ll explore the enticing world of DIY waxing versus the comfort of salon treatments. You’ll weigh the pros and cons of each option, uncovering everything from cost to the level of comfort involved. Whether you’re a curious beginner contemplating a home waxing kit or someone who loves the pampering of a salon, we’ve got the insights you need to make an informed choice that aligns with your hair removal needs. Let’s dive in!


Hard Wax vs Soft Wax: Unveiling the Key Differences!
Understanding Waxing BasicsBefore diving into the comparisons, let’s explore what waxing entails. You’ll learn about the two main methods of waxing – hard and soft wax – and how each works for different hair types and body areas.
Hard Wax
Hard wax is a favorite among many for its ability to grip the hair without adhering too much to the skin. This method works particularly well for sensitive areas, like the bikini line and underarms. When applied, hard wax melts at a low temperature and is spread onto the skin. Once it cools and hardens, you can flick off one edge and remove it in one swift motion. This makes it less painful since the wax pulls only the hair, minimizing irritation to the skin.
Soft Wax
On the other hand, soft wax is more versatile and typically used for larger areas, like legs or arms. It’s applied with a spatula and covered with a cloth or paper strip. Once the wax adheres to the hair and the strip, you quickly pull it away in the opposite direction of hair growth. While this can be effective, it may cause a bit more discomfort since the wax adheres to both hair and skin.
Choosing the Right Method
Your choice between hard and soft wax will depend on several factors:
- Hair Type: Finer hair might respond better to soft wax, while coarser hair may be easier to remove with hard wax.
- Body Area: Always consider where you’re waxing. Sensitive areas often benefit from the gentler touch of hard wax.
- Skill Level: If you’re new to waxing at home, starting with hard wax might be a safer option.
With a better understanding of the waxing methods at your disposal, you’re now ready to consider the unique appeal of DIY waxing. Let’s explore what makes taking the plunge into home waxing so enticing!
If you’re weighing your options, DIY waxing holds a unique appeal that’s hard to ignore. Let’s break down some of the reasons many individuals choose to take this hair removal journey into their own hands.
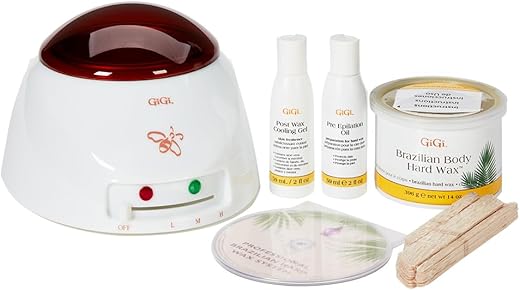
Cost Savings
One of the biggest advantages of DIY waxing is the cost savings. Salon visits can add up quickly, especially if you’re looking for regular maintenance. In contrast, purchasing a home waxing kit is typically a one-time investment, allowing you to wax multiple times without shelling out cash for each session. For instance, a reliable waxing kit can range from $20 to $60, covering multiple uses—much more economical than $50 to $100 salon appointments!
Convenience of Home
Picture this: a weekend afternoon, you’ve got some time, and you decide it’s the perfect moment for a waxing session. With DIY waxing, you can strip away unwanted hair in the comfort of your home at a time that suits you. No appointments necessary, and no rushing to fit into a salon schedule. You have complete control over the process, enabling you to wax your legs while catching up on your favorite TV show!
Flexibility with Techniques
Moreover, DIY waxing gives you the freedom to explore various techniques at your own pace. You can experiment with soft wax, hard wax, or even sugaring, adapting your method to what feels right for you. Want to try a Brazilian wax or touch up your brows? You can do that too! For effective application, consider using quality tools like the Tress Wellness Premium Waxing Sticks, protecting your hands while giving you precision.
Fun with Friends
Lastly, DIY waxing can be a fun social activity. Invite a friend over for a waxing party! It can transform into a bonding experience loaded with laughter, chats, and advice. Just remember to keep it light-hearted and ensure everyone feels comfortable.
With these appealing benefits, it’s no wonder DIY waxing has gained traction. Yet, as you weigh your options, let’s take a closer look at the salon experience in the next section, where comfort and professionalism play a central role.
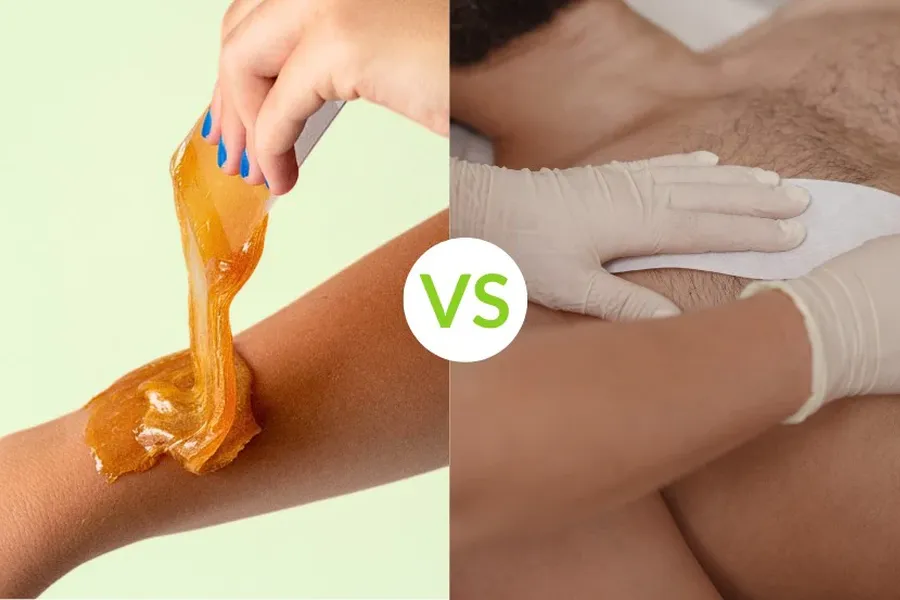
The Salon Experience: Comfort and ProfessionalismWhen it comes to waxing, visiting a salon offers a unique experience that often surpasses DIY attempts in several key areas. While you might enjoy the flexibility of at-home waxing, don’t underestimate the advantages offered by professional treatments.
Expert Knowledge and Technique
First and foremost, professionals are trained in proper waxing techniques. They’ve honed their skills to ensure efficient hair removal while minimizing discomfort. Unlike a home setup where you might second-guess your technique, a salon expert knows exactly how to apply and remove wax for optimal results. For instance, they can assess your skin type and hair texture, adjusting their methods accordingly to yield the best outcome.
Hygiene Standards
Another vital aspect of salon waxing is hygiene. Salons adhere to strict cleanliness protocols, utilizing fresh supplies, sterilized tools, and disposable items for each client. This practice greatly reduces the risk of infections or skin irritations compared to DIY waxing, where you might lack the same level of sanitary measures.
Comfort and Relaxation
Imagine lying back in a clean, comfortable treatment room with soothing music playing in the background. Many salons create a welcoming environment, allowing you to unwind while your technician effectively handles your waxing needs. This experience can make a significant difference, particularly for first-timers who may feel nervous about pain or embarrassment.
- Private Spaces: Many salons provide private treatment rooms, further ensuring your comfort and privacy.
- Consultation: You have the opportunity to discuss any concerns with your technician beforehand, leading to a more personalized approach that considers your preferences and any potential sensitivities.
Speed and Efficiency
Salons can often complete waxing services in less time than it might take at home, thanks to their precision and familiarity with the process. Instead of spending an afternoon struggling with the setup, you can be in and out, leaving you with more time for your day.
With the myriad benefits of the salon experience, it’s clear why many individuals opt for this route. However, as you ponder the salon’s allure, let’s shift gears and delve into the financial aspects in the next section. Here, we’ll break down the cost of DIY versus salon visits, helping you make a sound decision based on your budget.
Cost Comparison: DIY vs. SalonWhen it comes to choosing between DIY waxing and visiting a salon, the financial aspect is a significant consideration. Understanding the costs involved can help you make a more informed decision about which option is right for you.
Upfront Investment
Starting with DIY, purchasing your own waxing kit typically ranges from $20 to $60. This one-time setup allows you to wax multiple times, meaning you can expect to get several sessions out of that initial investment. For instance, a decent kit could suffice for a couple of months, depending on how often you wax.
In contrast, salon prices can vary widely. A single waxing session can cost anywhere from $50 to $100, especially for larger areas or more specialized services. If you’re aiming for regular upkeep, that price tag can add up quickly over time. For example, if you wax every four weeks, you’re looking at annual costs of $600 to $1,200 or more!
Potential Repeat Costs
It’s noteworthy that while DIY waxing seems budget-friendly, you’ll need to restock supplies over time, which might lead to additional costs. For example, products like the KoluaWax Premium Waxing Kit might require refills on wax and accessories, so consider budgeting for those future expenses.

On the salon side, while it’s a higher upfront cost each time, you might often receive additional services, like soothing lotions or pre-wax consultations, which might contribute to the experience’s perceived value.
Value for Money
Ultimately, how you weigh the costs against the experience or results you get will be subjective. Many people find value in the convenience and quality of salon services, while others appreciate the control and savings of DIY.
Having a clear understanding of your budget and how much you’re willing to invest in hair removal is essential. With costs laid out, it’s time to address another vital element of waxing—pain. In the next section, we’ll explore what to expect in terms of discomfort, helping you to prepare for whatever method you choose.
Pain Factors: What to ExpectWaxing can indeed be a bit of a rollercoaster when it comes to discomfort, but understanding what to expect can help you manage the experience better. Whether you choose DIY or salon waxing, you should be prepared for varying levels of pain.
Pain Levels in DIY Waxing
When you wax at home, the level of pain can depend significantly on your technique and skin sensitivity. As a beginner, you might not achieve the quick, efficient pulls that professionals use, which can lead to more discomfort. But fear not; there are ways to ease the pain:
- Prep Your Skin: Exfoliate a couple of days before waxing to remove dead skin and allow for smoother hair removal.
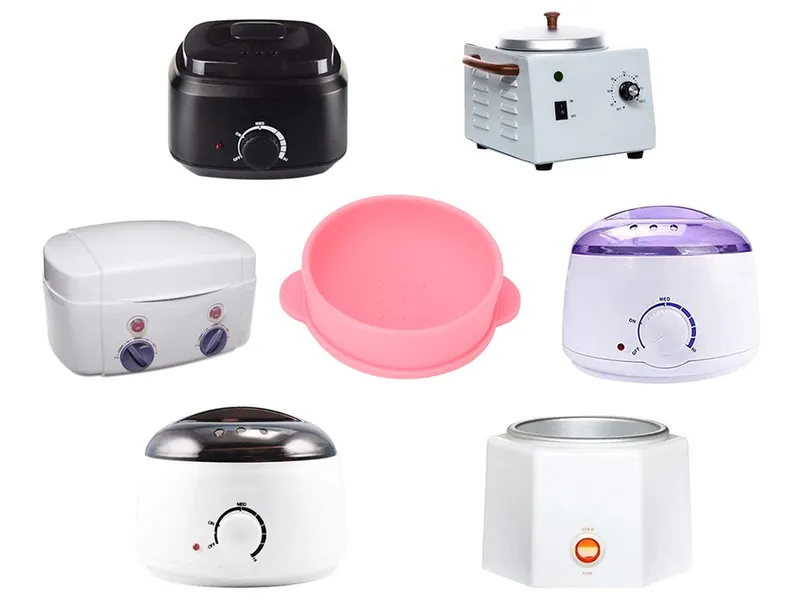
- Warm Up the Wax: If you’re using soft wax, ensure it’s at the right temperature—hot, but not scalding. A well-warmed wax can adhere better to hairs, making for easier removal and less pain.
- Use Quality Products: Consider reputable products like the to minimize skin irritation.
Pain Levels in Salon Waxing
In comparison, salon waxing typically offers a more controlled and less painful experience due to the technician’s expertise. Professionals know precisely how to lift the skin during the pull, reducing pain and ensuring a smoother outcome. However, individual pain tolerance plays a significant role; here’s how to manage discomfort effectively:
- Consult Before You Start: Many salons will discuss your pain concerns before the session, allowing technicians to adjust their methods to suit your comfort level.
- Cooling Gels: Post-wax, salons often apply soothing ointments or gels to calm any irritation, which can ease discomfort considerably.
- Timing Matters: Exposing your skin to waxing during your menstrual cycle may increase sensitivity; plan your appointments accordingly for minimized discomfort.
Understanding the pain factors associated with both methods can help you prepare mentally and physically. With comfort and techniques laid out, the next step is post-waxing care. This crucial stage can make a big difference in your overall experience and skin health!

After waxing, your skin deserves some extra love to avoid irritation and ensure those freshly waxed areas stay smooth and healthy. No matter whether you waxed at home or in a salon, following a few essential aftercare steps will help you sidestep discomfort and promote skin healing.
Keep It Cool
After waxing, your skin may feel sensitive. To calm irritation, apply a cool compress or take a cool shower. This can help soothe redness and potentially minimize inflammation. Remember to avoid hot water for at least 24 hours, as it can exacerbate sensitivity.
Moisturize Wisely
Hydration is key! Use a gentle, fragrance-free moisturizer or calming oils on the waxed area. Look for products containing aloe vera or calming ingredients that help soothe the skin. A popular choice is azulene oil, known for its anti-inflammatory properties, which helps reduce redness and dry patches.

Regularly applying moisturizer in the days following your wax can also keep your skin soft and prevent the dreaded post-wax dryness.
Avoid Friction
For the next day or two, steer clear of tight clothing that might rub against the waxed areas. This helps reduce the risk of irritation or ingrown hairs, which can occur when hair follicles are agitated. Opt for loose, breathable fabrics to allow your skin to recover.
Skip the Heat and Sweat
No hot baths, saunas, or intense workouts for at least 24 hours post-wax! Your skin needs time to breathe and recover after a wax. Heat can open pores and lead to irritation or infections, so choose a low-impact activity instead.
Exfoliate Gently
Once you’re a few days post-wax and your skin feels settled, gentle exfoliation can help keep ingrown hairs at bay. A soft washcloth or a mild exfoliating scrub can be effective. Just remember to be gentle; over-exfoliating can irritate freshly waxed skin.
By adhering to these practical aftercare tips, you can ensure smoother skin and a more pleasant waxing experience overall. Now that you’re armed with the knowledge to care for your skin, it’s time to evaluate your waxing options and decide which experience resonates with you.
Make Your Choice: DIY or Salon?
Now that you’ve explored the ins and outs of DIY waxing and salon services, you’re better equipped to decide which option suits your needs. Think about your comfort level, budget, and availability. If you appreciate convenience and control, DIY waxing might be your go-to. However, if you value expertise and a pampering experience, a trip to the salon could prove worthwhile.
Ultimately, there’s no one-size-fits-all answer. Listen to your preferences and priorities, and don’t hesitate to experiment with both methods until you find the perfect fit for your hair removal routine. Whichever path you choose, be sure to equip yourself with the essential tools and aftercare practices for smooth, beautiful skin. Happy waxing!
DIY waxing can be hit or miss, but I love the Clean + Easy oil treatment. Makes my skin feel so smooth after! Anyone else tried it?
Glad to hear that, Lilly! It’s important to take care of your skin after waxing.
I have, and it’s awesome! Definitely a game-changer post-wax.
Reading through all these comments makes me realize how different everyone’s experiences are when it comes to pain! I guess it really does depend on the person!
Haha! It truly varies from person to person! Glad everyone’s sharing their insights!
Totally! Pain tolerance is so subjective! I’ve had my worst experience go viral in my group of friends, lol.
I bought the KoluaWax kit last week, and I am pumped to try it! I’ll probably mess up haha, but it’s cheaper than salon prices anyway. Wish me luck! ✨
You’ll do great, Rebecca! Just take your time and read those tips in the article.
Just started waxing with the 150 professional strips, and they’re super easy to use! That being said, still debating if I’d go for the salon next time.
I’ve heard those strips work wonders. What’s your experience so far?
That’s fantastic, Olivia! Strips can make it way easier for DIY.